
Creating a Wedding Cake Topper
A Family Crest for Jesse & Sayers
It is an absolute joy to make a wedding cake! Over the years, I have made countless wedding cakes for brides and grooms. Each couple is special and unique, and their wedding cakes should reflect their tastes, personality and union. With that being said, I have made small cakes and big cakes. I have created a Stanley Cup wedding cake and a Robot themed cake. I have even made a wedding cake splayed with the Union Jack and American flag. There is not a single wedding that I haven’t valued the honor and importance of creating something that that plays such an important of the big day celebration and memories for years to come.
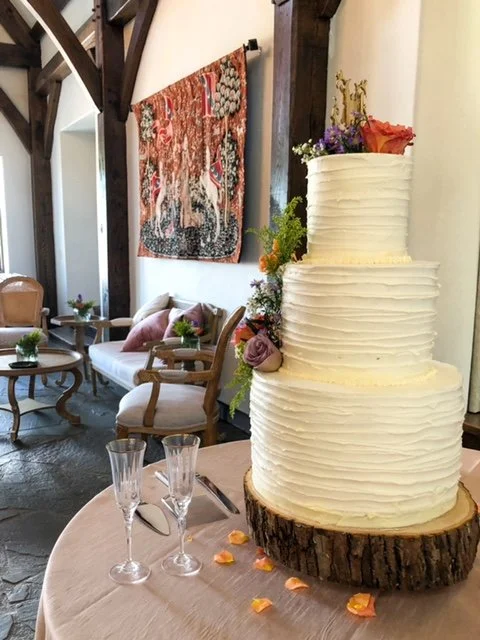
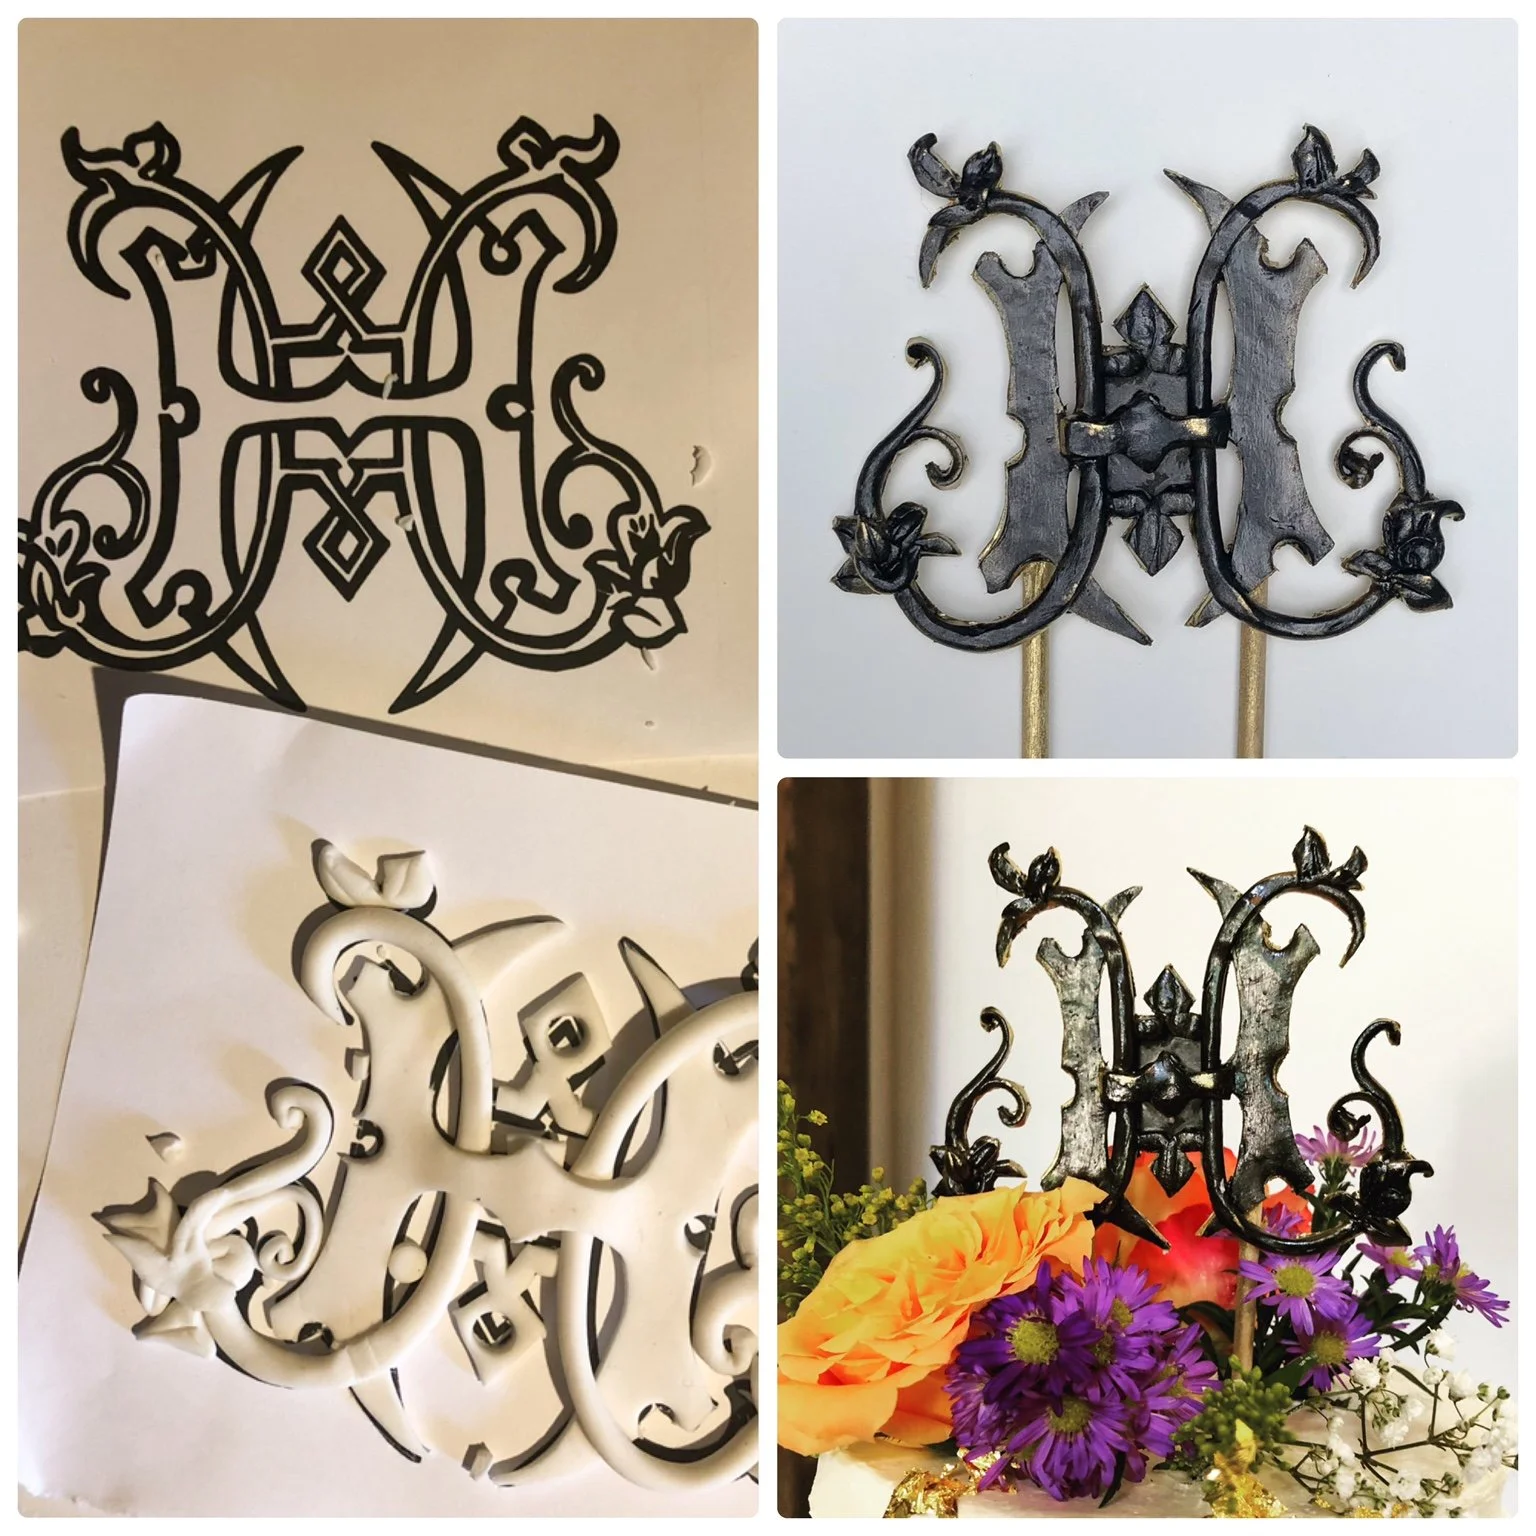
The wedding cake for Jesse and Sayers is an extra special cake. What makes it so special? The gorgeous crest on the top of their cake has been designed for them by the Mother of the Groom. These interwining monograms encompass a new union and a new family crest of their very own. What a wonderful sentiment and I am so happy to recreate this crest for the top of Jesse and Sayers’ cake!
The Challenge:
The flavor of the cake is French vanilla with a white chocolate cream cheese filling. I know it will be absolutely delicious but this challenge is not about creating the cake. This challenge is about the successful making of the crest cake topper. The act of duplicating this very delicate and intricate design means that the stakes are high. Any error in variation in the design will be noticed. Any issue with breaking, cracking and the filigree will be destroyed.
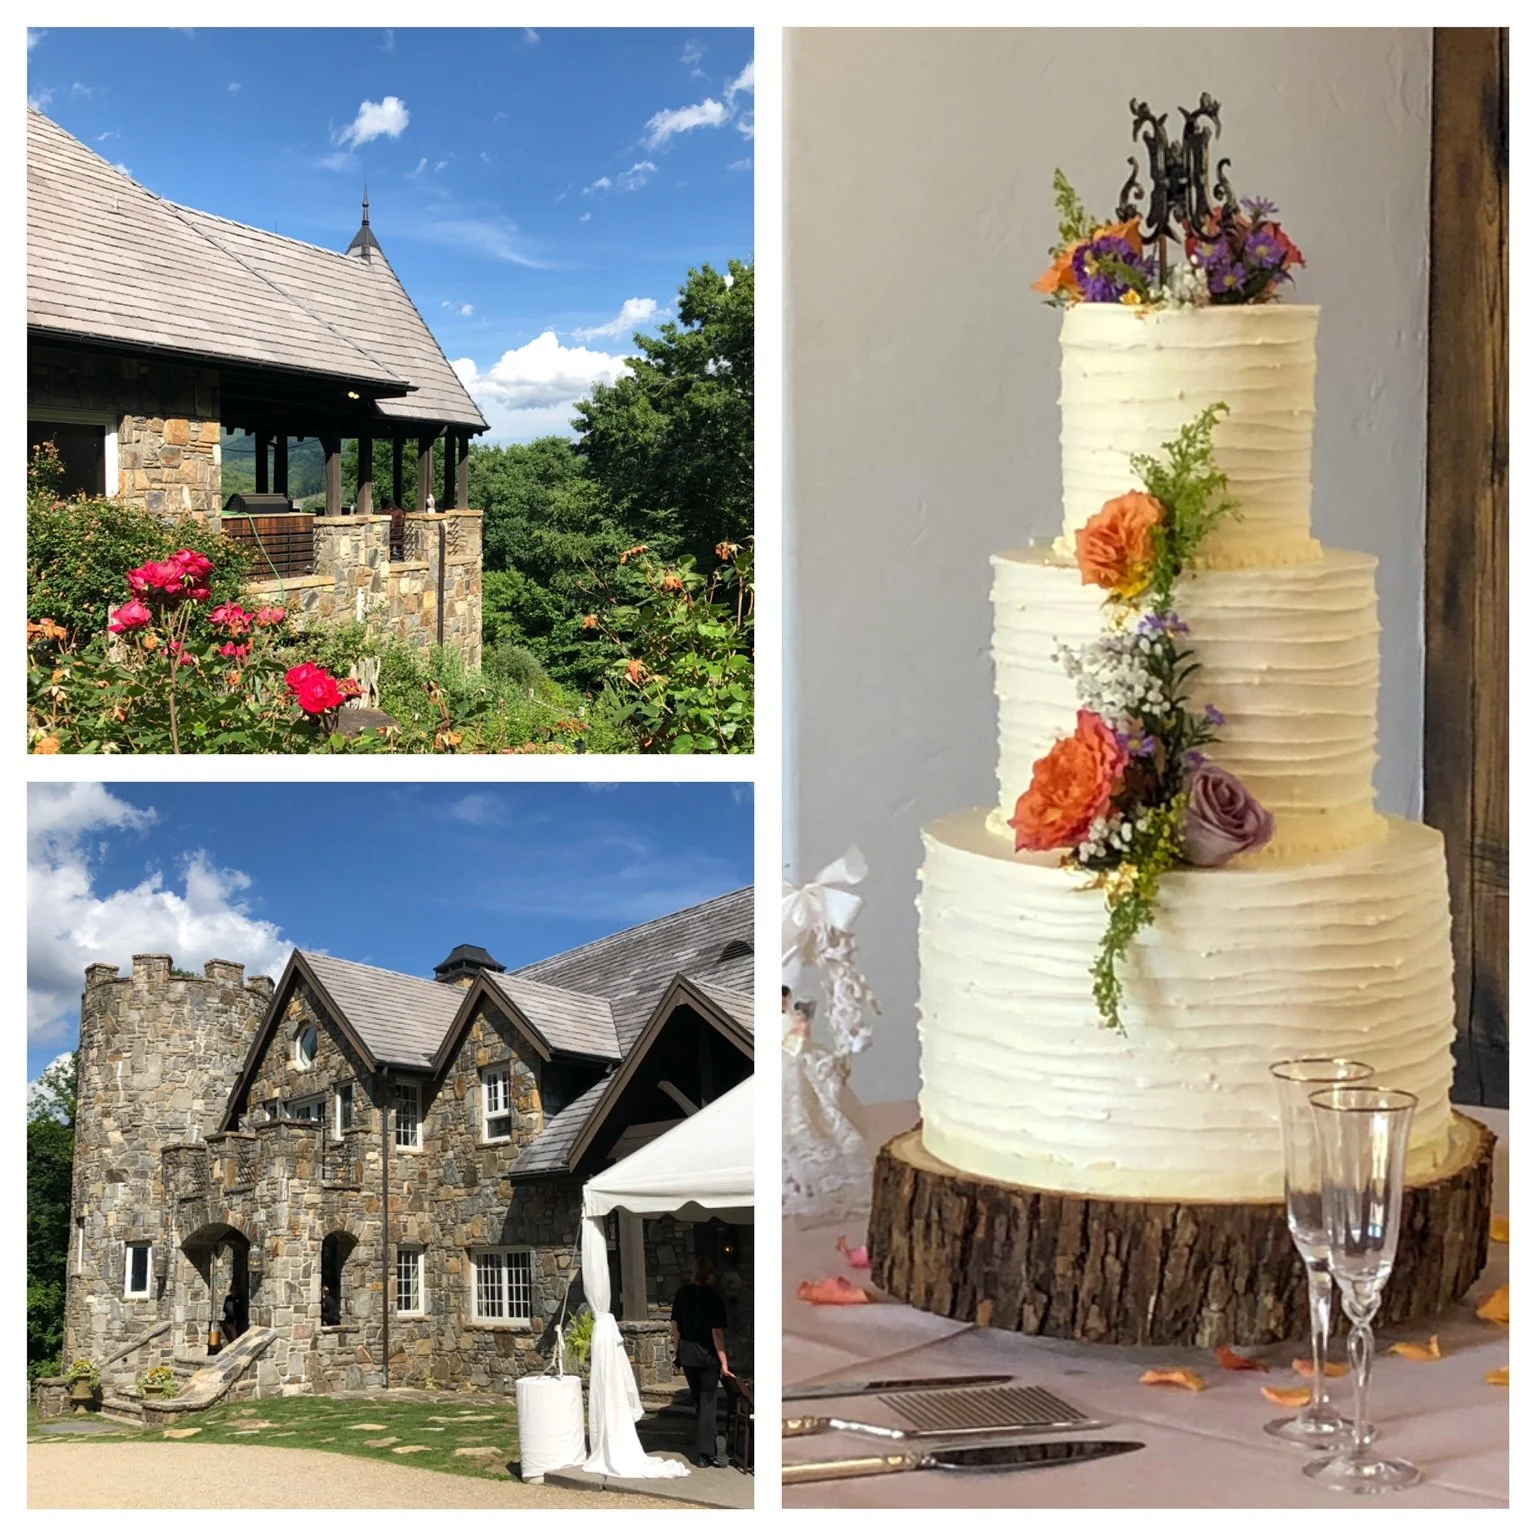
Top Left: The view from Castle Ladyhawke, a beautiful venue in the Western North Carolina Mountains, Below Left: A grand entrance at Castle Ladyhawke, Right: Jesse and Sayers cake has a beautiful simplistic elegance
Challenge Accepted:
I think I stared at the newly designed crest for days! LOL! Truly! Next, came multiple experiments with gum past, fondant and pastillage. All of them left me stumped and frustrated. I was just sure one of them would be the answer to my problem but in the end it was a $3.50 pack of art clay from Dollar General that did the trick. Can you believe it?
Step 1: I printed the crest in the exact size that suited the cake. Step 2: For the inner “H” I rolled the medium as thin as possible and tapered the ends. Then I bent and wove the medium to fit exactly over the print. I used straight pins in some places just to help me keep the design in place. Step 3: Using a fondant rolling pin I rolled the craft dough and cut out the large outer “H” and inner filigree. Step 4: I let the crest dry. Step 4: I carefully glued the pieces together (including support sticks) and allowed the pieces to dry. Step 5: I painted the entire crest gold. Step 6: I dry brushed black craft paint on top of the gold paint ensuring that I allowed the gold paint to come through. Step 7: I created an aged worn effect by using a fine grit sandpaper to remove strategic areas of the black paint to reveal gold paint. Step 6: I sprayed the entire crest in a protective mat coating.
The Result:
Victory! Although this challenge proved to be a tough adversary, in the end the crest actually appears to be a beautiful patinated metal. Congratulations Jesse and Sayers! Thank you for making me a part of your special day!