

Creating Frosty Candle Holders
Make Your Own Winter Wonderland With These Frosty Candle Holders
I love burning candles - especially this time of year! There is nothing more cozy than curling up on a cold night with the house immersed in an luminensce light. As a result of my excitement, I often have leftover glass jars from previously used store bought candles. The truth be told - if you open up my kitchen cupboard next to my refrigerator, I have all kinds of cute jars that I just can’t seem to part with. When one of my Airbnb guests (you know who you are) gave me her cute “Oui” yogurt jars I decided that it is time to get into full blown craft mode! Yay!
There are so many things to love about this project!
1. It is instant gratification - literally. For once, here is a craft project that is absolutely zero aggravation, zero wait-and-see! Yay! Anybody can do it and anybody can help!
2. It requires VERY few materials to make these candle holders. In fact, I had everything I needed and the cost was zero - zip -nada. When does that ever happen?
3. This is a recycle, reuse project. This is always a good thing. Guilt free happiness - I like it!
4. The results are so good that these winter-kissed candle holders will make great gifts. Let’s face it - I have crafted a few items in the past that came out like a kindergartner had made them and in fact, it would have been better if they had. No worries here. You’ve got this. No crafting regret - I promise.

Here Is What You Need:
Clean and dry glass jars
Matte Mod Podge or clear drying glue (Elmers, school glue, etc…)
Craft Paint Brush
Epsom Salts
Plastic or something to cover and protect the surface that you are working on
Directions:
Cover your work surface. Lay out your jars and materials. Put Epson salts into a wide opening bowl.
Use your paint brush to brush the glue on to your glass jar. Do not apply too thick. You just want a nice even coat. You can apply the glue part way up the glass (like I did) or cover the whole thing. It is up to you. Leave the bottom plain.
Do not wait for the glue to dry.
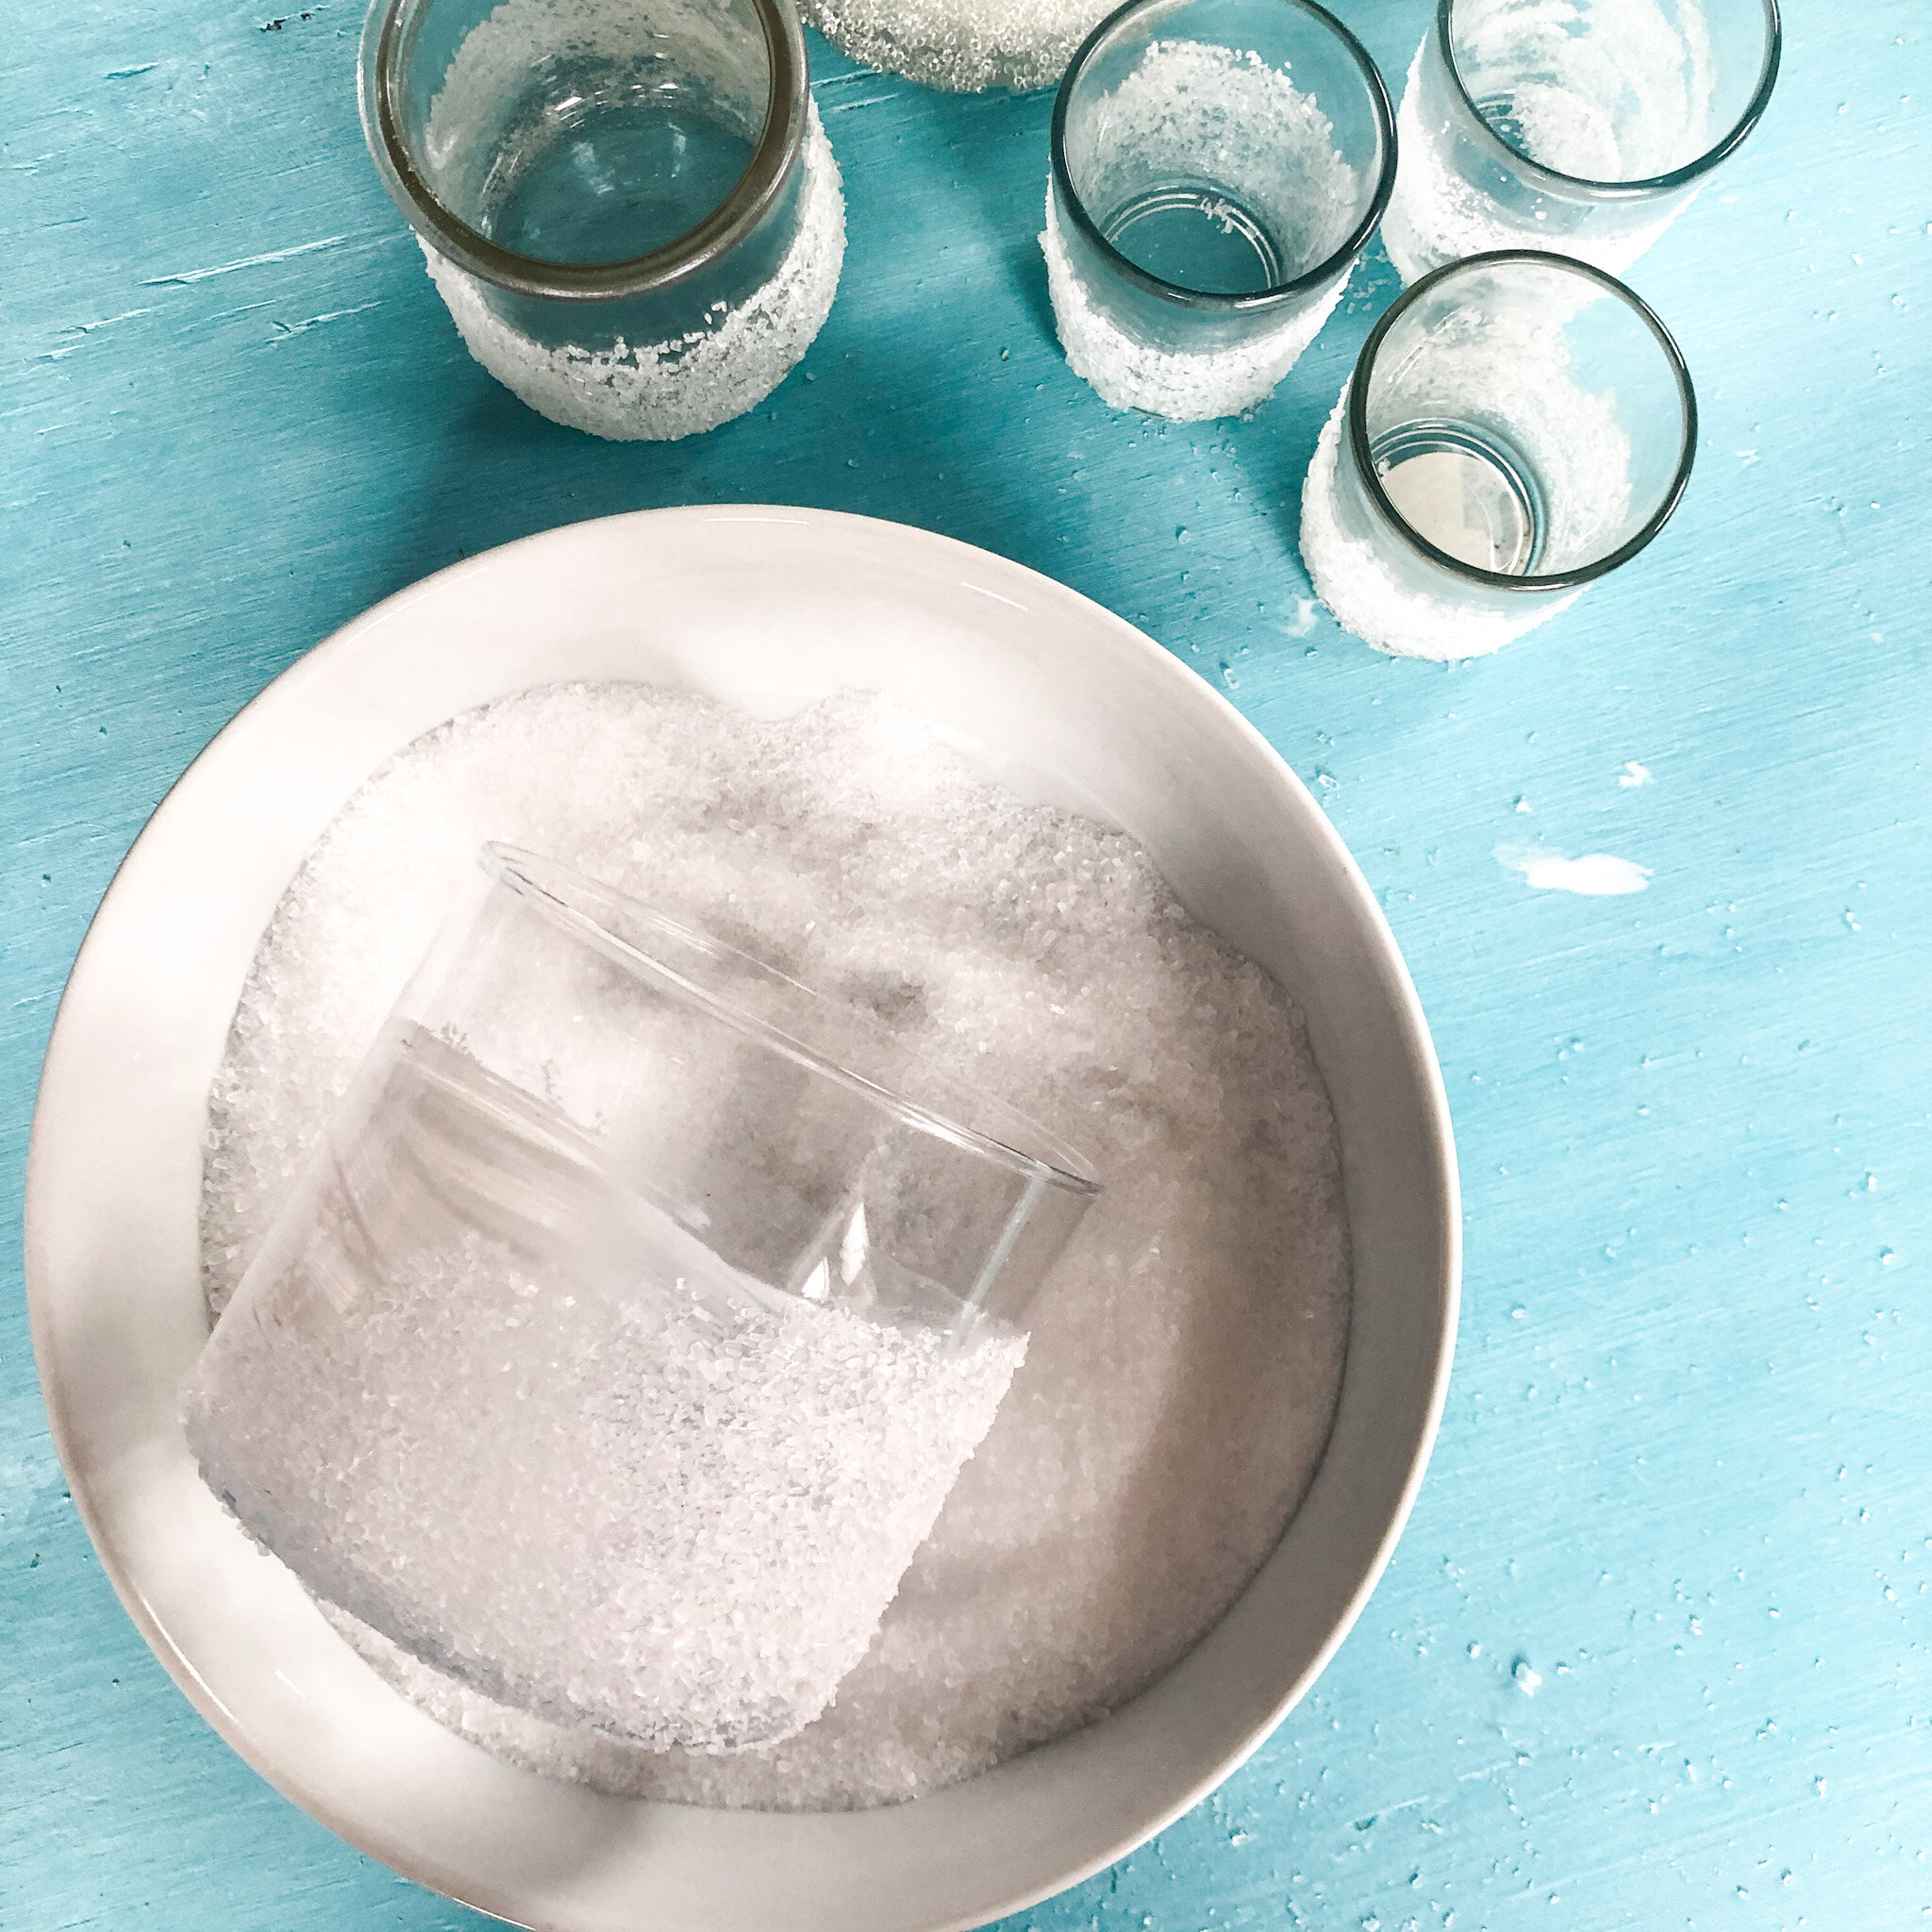
4. Roll your sticky glue jar in the Epson salts. Shake off any extras. You can touch up areas missed but, be careful not to “glop” on the glue because the Epson salts will look clunky in areas where the glue is built up.
or
Instead of rolling the jar in the salts you may choose to sprinkle the salts on to the surface. Simply hold the jar (with the glue) in your left hand and in the right hand sprinkle the surface.
5. Allow your jars to dry. Enjoy!
See the example below:
Rolling versus sprinkling yields a different effect. The jar on the left has been rolled and appears to have larger crystals. The jar on the right has been hand sprinkled and appears to have a finer crystal.

Making these frosty glass candle holders proves to be fun and easy! The results are amazing!